The Postback is primarily used to share information such as app events, conversions, sales, registrations & lead captured with the publisher. This can be done either at the Global level or Campaign Level to pass the necessary information.
Follow these steps to know how you can share the Postback with your Publisher:
Step 1

Step 2
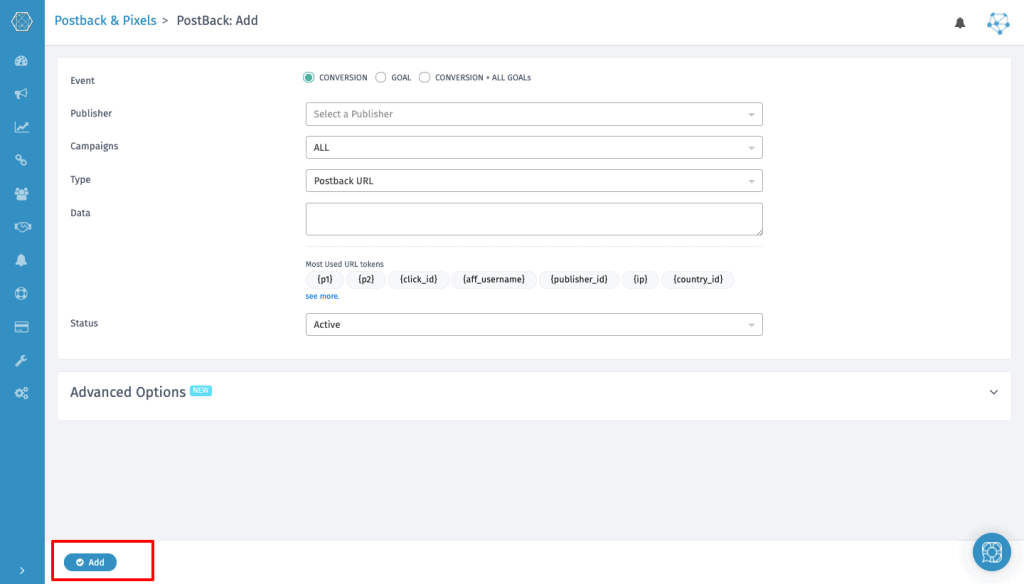
- EVENT- You can select the events for which you want to notify publishers.
- Conversions will notify for all conversions, leads, Sales, etc except goals.
- Goal will notify all goals except Conversions.
- Conversions + All Goals will notify everything.\
- PUBLISHER- Choose the publisher whose postback URL has to be added.
- CAMPAIGNS- Select all the publishers for global Postback setup or select any specific campaign if you want to add the campaign-specific postback.
- GOAL- Choose the goal of the campaign for which you want to set the postback.
- TYPE- Choose the type of Postback/Pixel you are setting.
- Postback URL
- iFrame Pixel
- Image Pixel
- Javascript Pixel
- DATA- In this section, the publisher postback URL is added using our macros and adding them with a suitable parameter.
- STATUS- You can set the status as Active/ Inactive as per the requirement.
Fire Postback on Pending Conversion

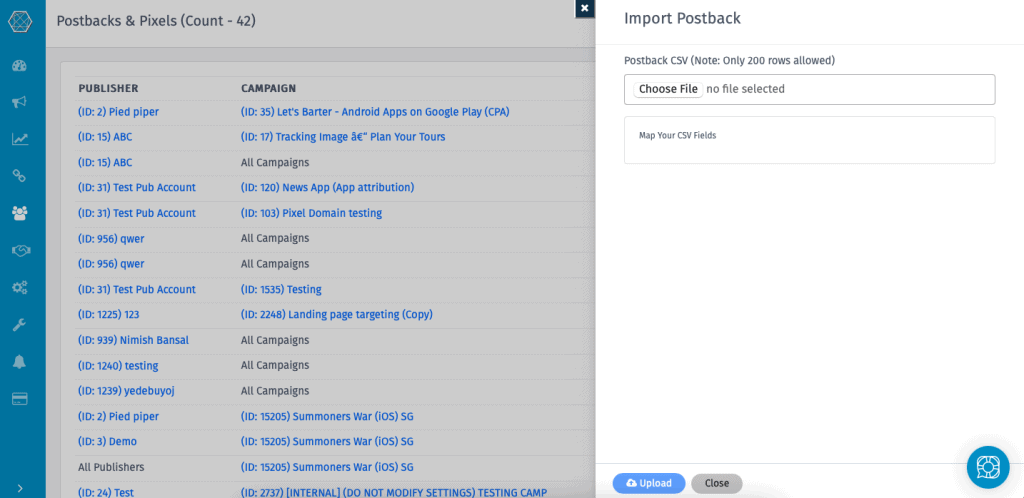
Bulk Upload Publisher Postback
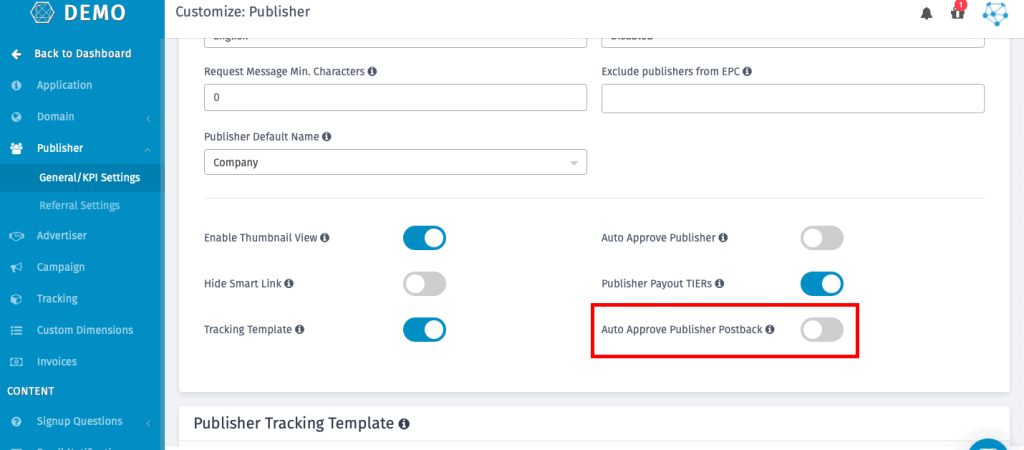
Auto Approve Publisher Postback
The Advanced option
– Don’t Fire Postback if the payout is Zero “0”
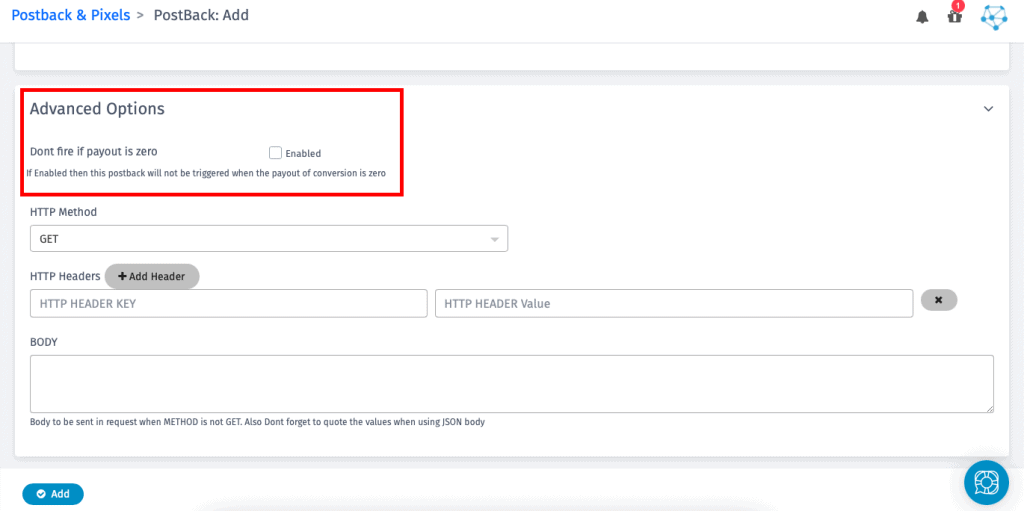
This setting is optional for only a few publishers who want to setup Postback to have the header and different body as payload.
Conclusion
Generally speaking, postback tracking will provide you with more options for a conversion to happen. You can have your advertiser send back the conversion URL whenever they want, as opposed to only waiting for a page to load.
This will be useful if, for instance, your advertiser wants to wait until after an item has been delivered or a lead has been qualified before registering conversions. And thus, here with our blog on how to add postback publisher, you can make your campaign tracking simple and easy.
In case you have any queries regrading adding the Publisher Postback, please feel free to contact us. We would be happy to help.